

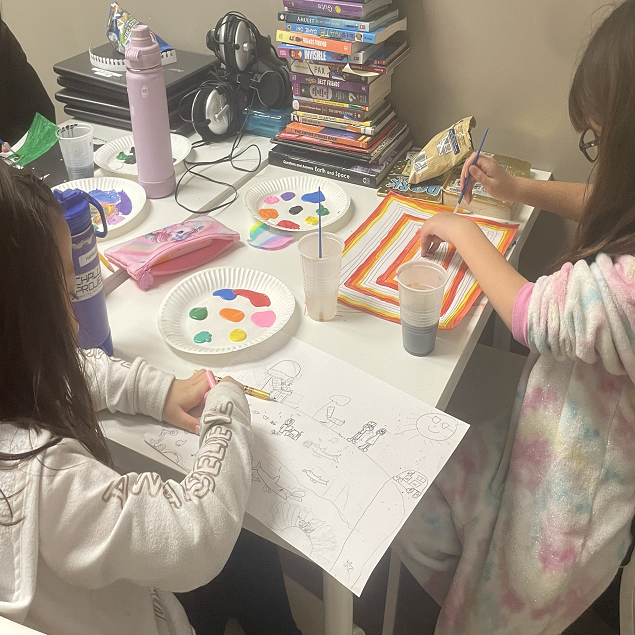
Art Projects Using Tissue Paper
Art projects usually require a lot of different materials and sometimes they can be expensive. However, some art projects can be made from materials that can be found around the house. Check out these three art projects that can be made with tissue paper!
Tissue Paper Painting
Materials
-Tissue paper squares
-Watercolor panel
-Water
-Spray bottle (or paintbrush)
-White Crayon (optional)
Directions
1. Draw a design (words, patterns, etc) with white crayon on the watercolor panel. This design will show up after you apply the squares.
2. Pre-wet the watercolor panel by spraying it with a spray bottle filled with water. You can also choose to use a paintbrush if you’d like.
3. Apply the tissue paper squares randomly or in a planned arrangement.
4. Allow the water to dry before removing the squares.
5. Once you remove the squares, the color will have transferred onto the watercolor panel, revealing your drawing and the color from the squares!
Tissue Paper Flowers
Materials
-4 pieces of tissue paper (At least 2 different colors)
-Green pipe cleaners
-Scissors
Directions
1. Layer 4 pieces of tissue paper – alternate colors.
2. For small flowers – Cut out 3 x 5-inch rectangles. Large flowers, like the ones above – cut the rectangle larger – about 6? x 10?.
3. Accordion Fold the tissue paper.
4. Lay your pipe cleaner down. Place the center of the accordion rectangle about 2 inches down from the top of the pipe cleaner.
5. Fold the pipe cleaner over the folded tissue paper, making a tight fit around the tissue paper.
6. Twist the pipe cleaner several times, so that the middle of the accordion fold is pulled together and bunched up.
7. Now, carefully start pulling up the tissue paper sections from the center to the outside, one at a time.
8. You can cup the finished flower in your hands and squeeze down a bit, to mold it.
Tissue Paper Collage Art
Materials
-tissue paper in many different colors
-white glue
-mixing cup
-medium-sized paintbrush
-stencil/clip art
-pencil
-scissors
-white cardstock
Directions
1. Place your clip art or draw your stencil on a piece of white cardstock.
2. Cut tissue into roughly 1 inch squares. (About 1/2 a sheet of each color are needed to cover a 12 by 12 inch paper.)
3. Mix a 1/2 white glue and 1/2 water in a mixing cup. Three Tbsp of each will make enough glaze to cover a 12 by 12 inch paper.
4. Begin with the background. Paint a small amount of cardstock with glaze and place a square of tissue paper down. Immediately add more glaze over top. Add more tissue squares to cover the white cardstock, overlapping them as you go.
5. Place the edges of the square tissue right along the edge of your drawing. In tight places you can trim tissue to fit.
6. Cover with tissue paper until completely covered.
Optimus Learning School provides the best after school program in the Orange County area. For more information about our After School Program, please visit our website at OLS After School !
Tagged:
Optimus Learning School is a tutoring center in Brea serving Fullerton, Placentia, and Yorba Linda. Since 2008, we have been helping students from kindergarten through high school achieve their academic goals through our various programs such as our home school, after school program, homework help, and private tutoring. We also offer seasonal programs such as our popular summer camp. There are many enrichment classes year-round, such as coding, STEM, piano, and art which will help shape creative and well-rounded students. Are you ready to kickstart your child’s education? Send an inquiry form or contact us today!